Invitation design · Metallic detail · Coordinated cards
Wedding Box Designs & Finishes
Choose a design that connects the invitation card, box lid and opening. This guide helps you brief gold-colour foiling, metallic detail and personalisation across rigid and MDF invitation boxes.
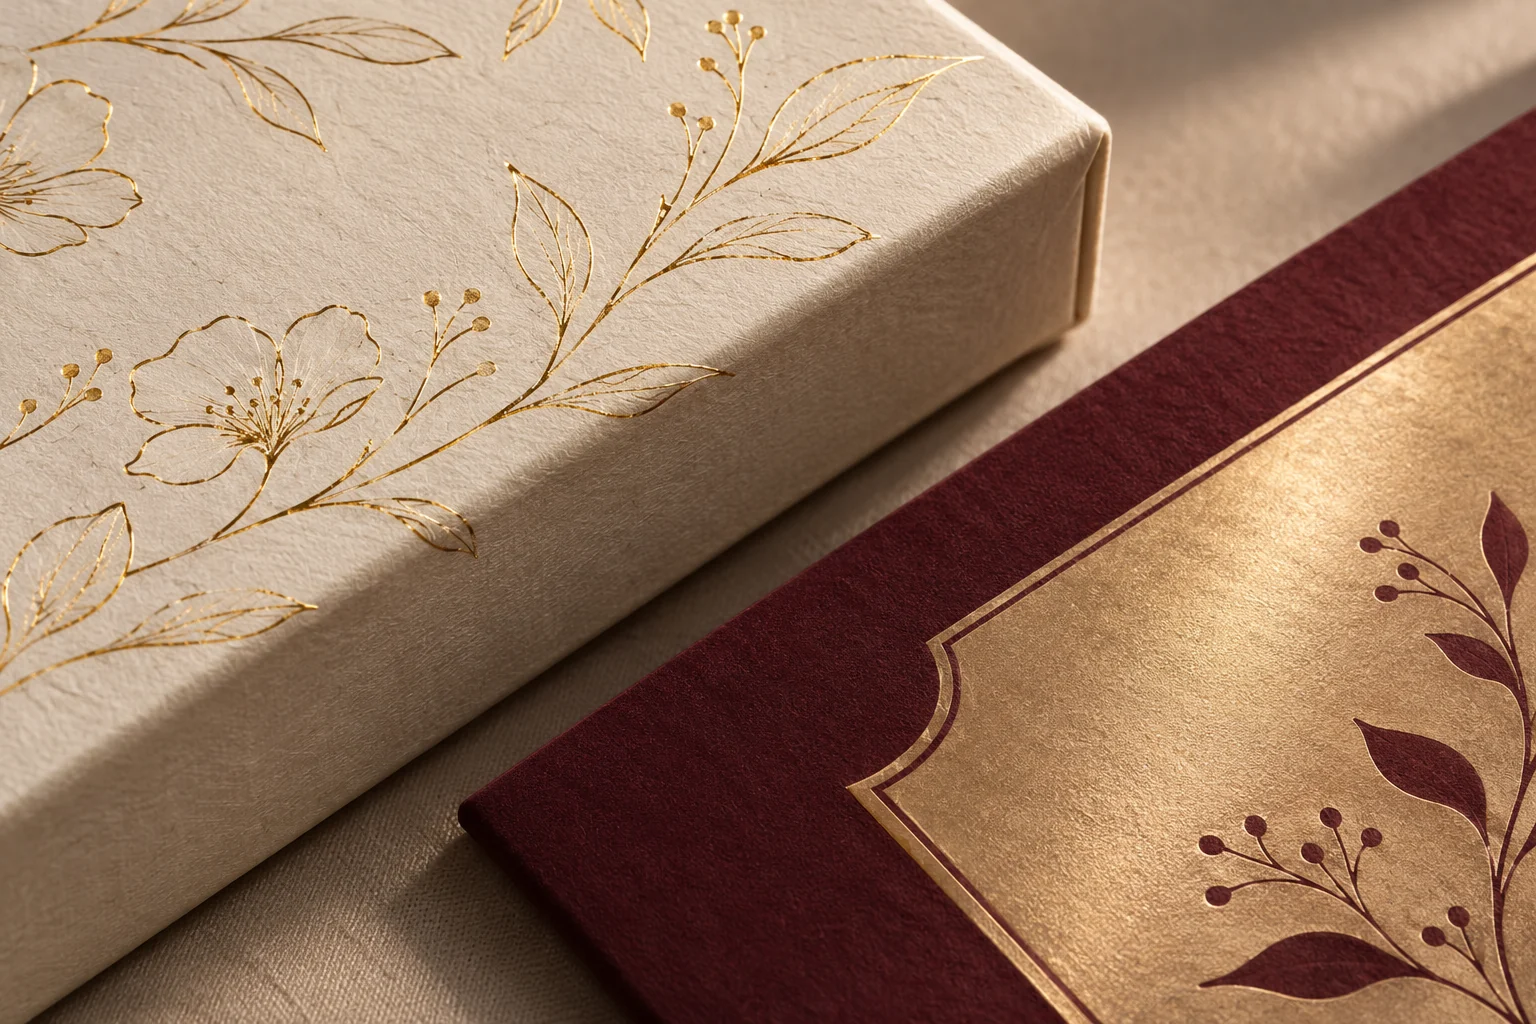
Three invitation-specific design directions
01 · The card-led reveal
Ivory wrap with restrained foil
Use one clear motif across the lid and main invitation. Keep the opening focused on the card suite, with space for the complete stack and a practical way to lift it out.
Resolve: the printed wording, foil areas, paper surface and which details remain common to every set.
Review the rigid invitation format02 · The keepsake arrangement
A finished MDF case with fitted spaces
Let the lid design introduce an orderly arrangement of invitation cards and separately packed gifts. Plan the graphic hierarchy around the real card area and cavity layout.
Resolve: the finished case size, opening, removal access and clearance with all contents in place.
Review the MDF invitation format03 · The multi-event suite
One identity, several card versions
Carry one colour or motif through the box, main card and event inserts. Use a version list so language, event and guest-name changes are deliberate rather than discovered during packing.
Resolve: the number of cards per set, quantities per version and which printed or foiled elements are variable.
Prepare the artwork and version listThese are design directions illustrated by AI concepts. They are not a portfolio of delivered customer orders or a promise that every depicted detail is production-approved.
Gold-colour foil and a metallic finish need a clear brief
Gold-colour foiling identifies decorative areas intended to have a reflective gold-colour effect. “Metallic finish” describes an appearance but does not, by itself, specify the process, colour or coverage. Mark the intended areas on the artwork and confirm the proposed treatment on your selected surface.
- Printed colour or foil?
- Say whether a motif is printed artwork, a foil detail or a combination. A gold-looking colour on a screen is not a physical foil proof.
- A fine border or a larger decorative area?
- Show the complete pattern and lettering at their intended size. Review the legibility and finish on the actual paper or covering before approval.
- One motif or a personalised detail?
- Identify the fixed artwork and every changing name, event or language field. Confirm feasibility and quotation scope for the version list.
- One surface or a coordinated set?
- Review the card and box together. The same colour or foil can appear different on different surfaces and under different light.
Gold-colour foil is a decorative colour treatment. If you want another effect, include a reference so its feasibility and material can be reviewed.
Approve the invitation information before the finish
Prepare one final master for the main invitation and a list of every additional card. Check names, dates, venue details, languages and contact information in the exact artwork that will be printed. Keep the approved revision identifiable.
- Record which cards and envelopes belong in each box.
- List quantities for each family, event, language or guest-name version.
- Separate the printed artwork from the areas intended for foil; confirm the file format with the production team.
- Review any printed invitation card and box lid side by side for hierarchy, position and readable detail.
- Confirm which details are included in the card-and-box quotation and which are optional.
Keep the base material separate from the decorative finish
Rigid paperboard and MDF are construction choices. A magnetic flap is an opening or closure choice. Foil and metallic treatments concern the surface. Select each against the invitation set, the intended opening and any gift compartments.
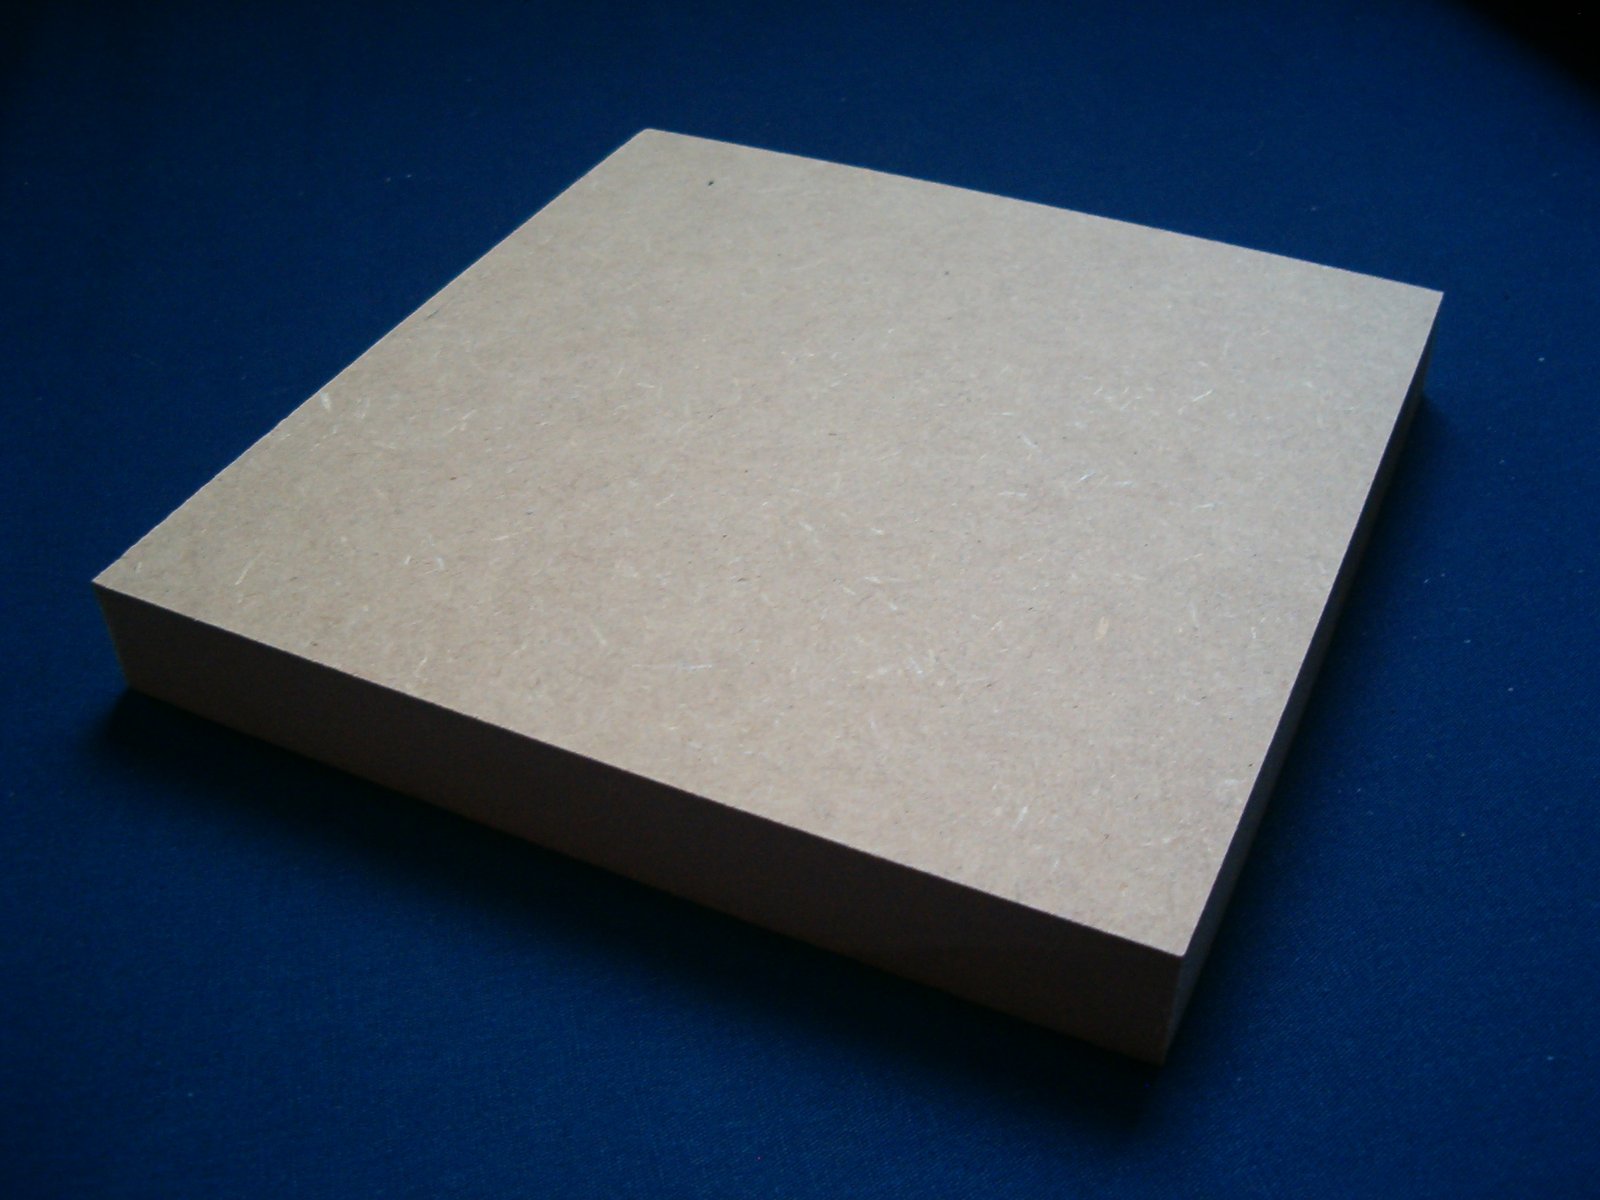
A reference photograph can explain a material; it does not establish the finish, construction or fit of your finished invitation box. Review those against the actual sample and agreed specification.
Use the sample to approve the complete design
- Check the information: final wording, version list and artwork revision.
- Check the loaded fit: every card, envelope and separate gift container, including removal and lid clearance.
- Check the finish: selected surface, foil or metallic detail, position and appearance under ordinary lighting.
- Record the approval: agreed sample, specification, remaining decisions, quantities and quotation scope.
Invitation cards with the box, metallic and gold-colour foiling, magnetic-flap formats and MDF custom cavities can be planned through our in-house manufacturing. Minimum order: 100 boxes. Stated production lead time: 10 days; confirm dispatch and delivery dates with your quotation.
Request a design-led invitation box quote